Showing posts with label cookies. Show all posts

Tuesday, February 17, 2015

Valentine's Party

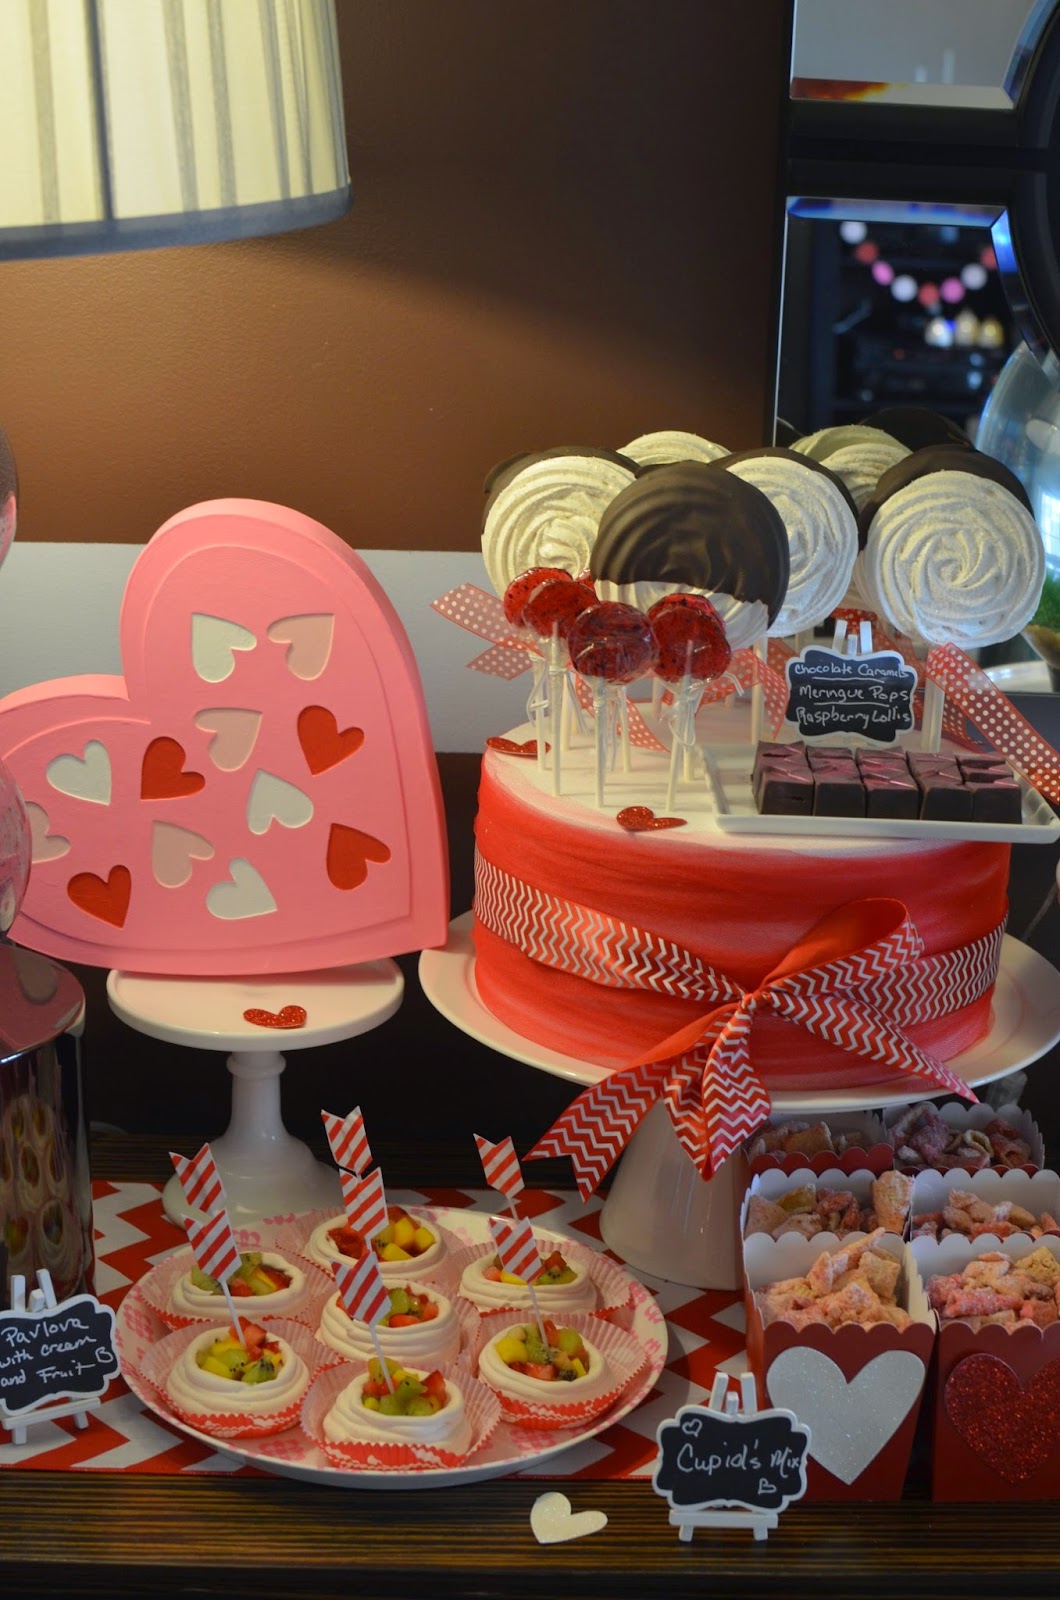
Happy (belated) Valentine's Day! We just had our third annual Valentines's party for our trivia team. It's a small group of super great people. It is a good time of the year for me to bake new things and have a good time trying new recipes. We make a dinner, appetizers and lots of desserts. The desserts included white chocolate pots de creme with strawberry compote, tiramisu, cheesecake balls, bourbon caramels, strawberry pavlovas, peanut butter fudge, and on and on.

The cutest idea by far was one I found on Bakerella's site!  I fell in love with these tiny cookies on tiny stands! Sqeeeeeee! By far those cookies, as well as the other cookies, took more time than everything else combined. I used the cookie and icing recipe she recommended and they were pretty good, but I'll keep looking for THE recipe. I hope you guys take some inspiration from these and make them for someone super special. My guests ended up taking the stands home and giving them to others to brighten their day (and hopefully never be eaten).


Tuesday, September 23, 2014

Cookie Groom's Cake

Weddings are huge productions where many tiny (or not-so-tiny) pieces all fit together seamlessly to make one huge elegant event.  Weddings are all about collaboration and coordination.

Recently, I met with a couple and the groom was a bonafide cookie connoisseur - he loved them and wanted them to be a big part of his groom's cake.

But how do you do that and still keep things classy?  Enter Mama Wilson from Mama Wilson's Cookies.  She made these delicious, deep dish cookies to act as tier separators between each cake tier.


Initially I was just a little nervous about this collaboration.  I know my cake and my icing.  I know how it reacts when it's carved, it's like my baby.  I made it and I know it's strengths and it's weaknesses..  But I'm so glad I agreed to do it and I was very pleased with the outcome.  I did use a small cake board beneath each cookie just in case it needed some extra support.  And this cake fit in just fine at the venue, Mason's Farm a River's Edge.

I think the "worst" thing about this whole collaboration was that I didn't get to eat any of that delicious cookie, so I'll just have to imagine how that cookie tasted with the chocolate butercream and dark chocolate ganache! I hope they had plenty of milk on hand!! ;-)

Tuesday, September 2, 2014

The Grill Master Cake w/ Coal Mini Tutorial

Happy Labor Day!  We hope everyone had some down time to relax and grill some yummy foods.  Segue into a grill cake! See what I did there? So subtle....

A sweet bride gave us some artistic freedom and the basics that she wanted:  gray, grill master on front, and meats on the grill.  The easy part is the simple gray buttercream round with two fondant ribbons on top and bottom.  If you don't have to use fondant, people will love just buttercream. Remember that with a cake like this, you don't have to put any effort is smoothing the top since you're just covering it up.  We added a gray THICK (1/2" ish) piece all around the top.  It's what the grate is sitting on.  This way, like the cigar box we did a few weeks ago, we didn't have to carve into the cake to get the inset look.  We needed a place for our coals and 1/2" was plenty.

We used these new flat Jet-Puffed Chocolate Brownie Marshmallows for the coals.  We airbrushed the marshmallows black.  It didn't take much color.  If you don't have an airbrush, buy a Preval Sprayer or buy a Wilton can of black spray.  We then mixed about one cup of powdered sugar with about a tablespoon of cocoa powder and teaspoon of black powdered food coloring.  Once mixed, these will give you  good looking "charcoal and ashes"!  We all want that!


We arranged the coals all flat and added heavy ash in the middle fading out to just a little on the outside.  We then added a little yellow, orange and red disco dust/edible glitter.  I wasn't crazy about the glitter, but time was ticking and there was no time for experimentation.  We did not have time/money in the budget for an edible grate, so we used Wooden dowels, hot glued all the pieces and painted them with silver spray paint.  A small saw would be best to get pretty, not squished ends. We used wire cutters and it made them ugly.  Next time we will know better.

Lastly we made no-bake oatmeal/ peanut butter / chocolate cookies for the hamburgers.  We used the most popular recipe on Food Network.com for ours.  We pressed in a skewer and airbrushed the black lines since we already had it out.  The could be painted on with a brush just as easily.  The hot dogs are modeling chocolate with the same technique for the lines.  We used a toothpick to make the details on the sides.   I hope this project seems easy enough for anyone to give it a try.  I promise it's not hard and is lots of fun!

If you want to see a few in-process of the marshmallow coals, hit Read More.

Happy Grilling!


Tuesday, December 10, 2013

Mini Gingerbread House Cutter Review

So I recently saw this cookie cutter online and I just had to order it immediately.  I could hardly wait for it to arrive so I could get to baking. It was just so darned cute!!

Well, the cutter came in and I got to baking. The picture to your left was my final results.  The final houses were very cute and got LOTS of attention to the parties I took them to.

If you're looking to make your own mini gingerbread houses, I do have some tips on what worked well for me.

First of all, these little suckers take a lot of time, so don't offer to make (or sell) a lot of these without making sure you have enough time.  If I were pressed into selling these, I think they would be at least $8 per house.

I used the gingerbread recipe printed on the cutter package, and I found that it worked best if you rolled the dough nice and thin.  The recipe they provide held up well, didn't spread too much, an was pretty tasty.  Once the cookies come out of the oven make sure to run knife across all the pieces while they're still hot.  It will save you some grief in the next step.

Once the cookies were baked and cooled, we found that the pieces still weren't exactly the same size and it made the houses go together a little wonky.  What we finally did was hold the 2 opposing pieces (front and back, right wall and left wall, left roof and right roof) together and then used a microplane grater to file down the 2 pieces just to make sure they were the same size.  And for the 2 wall pieces (left and right) we actually found that they were too long for the house to go together just the way we wanted.  So we filed about 3/4 of an inch off of the walls.  That allowed all the pieces to fit together and it allowed the roof to have the overhang that we liked better.

Photo of cutter from Good Cook

We used royal icing to put the houses together and we found that things worked well to fit the front/back and left/right walls together first.  We used a piping bag to pipe inside the house, but expect to get a little on the outside of the house too.  Once the walls have started to setup, then you can glue on the roof pieces.  Once they are all together, let them sit and get nice and dry before decorating.

Now I have an entire bakery full of dragees and sprinkles, but if I had it to do over I would make sure I got some mini candies lined up when decorating.  And don't forget the luster dust and the disco dust (as if you would!!).

Overall, these were fun, albeit time-consuming to make.  These little houses won't fi well on a standard cupcake, you'll need to make jumbo cupcakes if you are going to use them as toppers.  But they are cute and big enough for a snack all by themselves.

Sunday, April 4, 2010

Hoppy Easter!

So, what happens when you give a couple of cake artists a dozen eggs and some spare time?!?

Yep!  Tie-Dyed Glitter Eggs!  We had a blast making these little suckers!  After dying them, we got out ALL the luster dusts and edible glitter and just went to town!  My personal favorite was the golden disco glitter egg (look to the middle right in the picture).  It's been forever since we made Easter eggs and for the life of me, I don't know why!

Once that excitement wore down, we thought we would enjoy a cookie break, so we broke out a package of Milano cookes.  30 minutes later...

Yes!  Milano marshmallow sheep!  We're sickos, OK!  But in case you're interested, here's the lowdown on making these cute little guys!  Coat a Milano cookie in white chocolate and cover in  marshmallows.  Once set, use more chocolate to glue on four "feet" (we used some sort of Reeces egg candies).  Now take another milano cookie and using your mini marshmallows, make eyes and ears.  Use more chocolate to glue the cookie head to the cookie/marshmallow body.  Viola!  These little guys will serve as plate decorations / possible dessert for our guests today as we serve Easter lunch!

Happy Easter Everybody!

ShareThis

Related Posts with Thumbnails